Precision Levels of Different CNC Machining Process | CNC Turning Surface Roughness | Dajin Precision
Precision can reflect the machining effect of workpiece, it’s a special team to evaluate the geometric parameters of machined part and measure the performance of CNC machining centers. CNC turning, milling, planing, grinding, drilling and boring, what are the levels of precision should different machining processes achieve?

What Levels of Precision Should Different CNC Machining Process Reach?
The precision of CNC machining is related to the surface roughness, if the surface roughness is too large, it’s difficult to measure the dimensions precisely and accurately, then the dimensional accuracy can’t be guaranteed as well.
1. CNC Turning
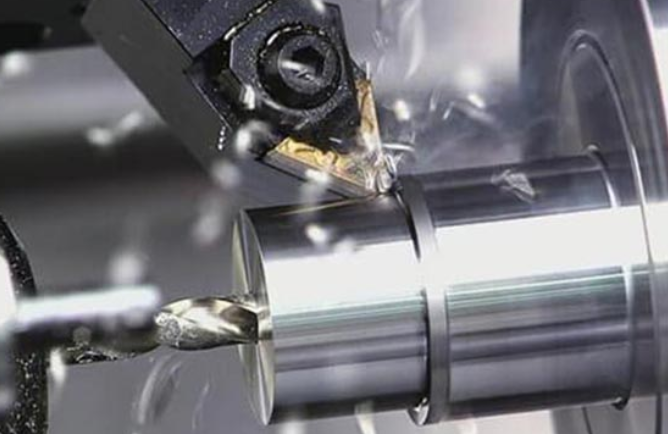
CNC turning is a computer numerical controlled process in which the workpiece rotates and turning cutting tool moves in a straight line or a curve in a plane to produce internal or external cylindrical surfaces, end faces, conical surfaces, forming surfaces and threads.
- The general CNC turning surface roughness is 1.6-0.8 μ M.
- Rough turning: use large cutting depth and large feed to improve efficiency without reducing the cutting speed, the surface roughness is required to be 20-10 μ M.
- Semi-finish and finishing turning: apply small cutting speed and feed at high speed, the surface roughness needed to be 10-0.16 μ M.
- For high precision CNC lathes: fine grinding diamond turning tool can precisely turn non-ferrous metal workpiece at high speed, with a surface roughness of 0.04-0.01 μ M, which is also known as "Mirror Turning".
2. Boring
Boring is a kind of inner cutting technology which uses a boring tool to enlarge the hole or other circular contour already exist. The tool used is usually a single edge boring tool (boring bar). Applicable from semi rough machining to finish machining.
- The boring precision of steel can reach 2.5-0.16 μ M.
- The precision of precise boring can reach 0.63-0.08 μ M.
3. Milling
CNC milling refers the process of which the rotating muti-point cutter to process the stationary workpiece on the computer controlled machine tools, suitable for machining groove, plane, gears and special features.
- The general surface roughness of milling is 6.3-1.6 μ M.
- Rough milling precision: 20-5 μ M.
- Semi-finish milling: 10-2.5 μ M.
- Finishing milling: 6-0.63 μ M.
4. Grinding
Grinding is an abrasive machining process of which utilizing a grinding wheel to cut off the surplus materials on workpiece, it’s widely used in the mechanical manufacturing industry, usually for semi finishing and finishing, can achieve fine finishes and cut precisely. Grinding can be controlled to move across around a fixed workpiece.
- The surface roughness of grinding is generally 1.25-0.16 μ M.
- The surface roughness of precision grinding is 0.16-0.04 μ M.
- The surface roughness of ultra precision grinding is 0.04-0.01 μ M.
- The surface roughness of mirror grinding is less than 0.01 μ M.
